The Process of Installing a Propane Tank: Permits, Installation & Safety Checks
When you're considering installing a propane tank, it's essential to understand the entire process. From securing the right permits to choosing the perfect location, each step plays a crucial role in ensuring safety and compliance. You might think it's just about the installation, but the real work lies in the preparation and ongoing maintenance. So, what are the key factors you need to keep in mind as you embark on this journey?
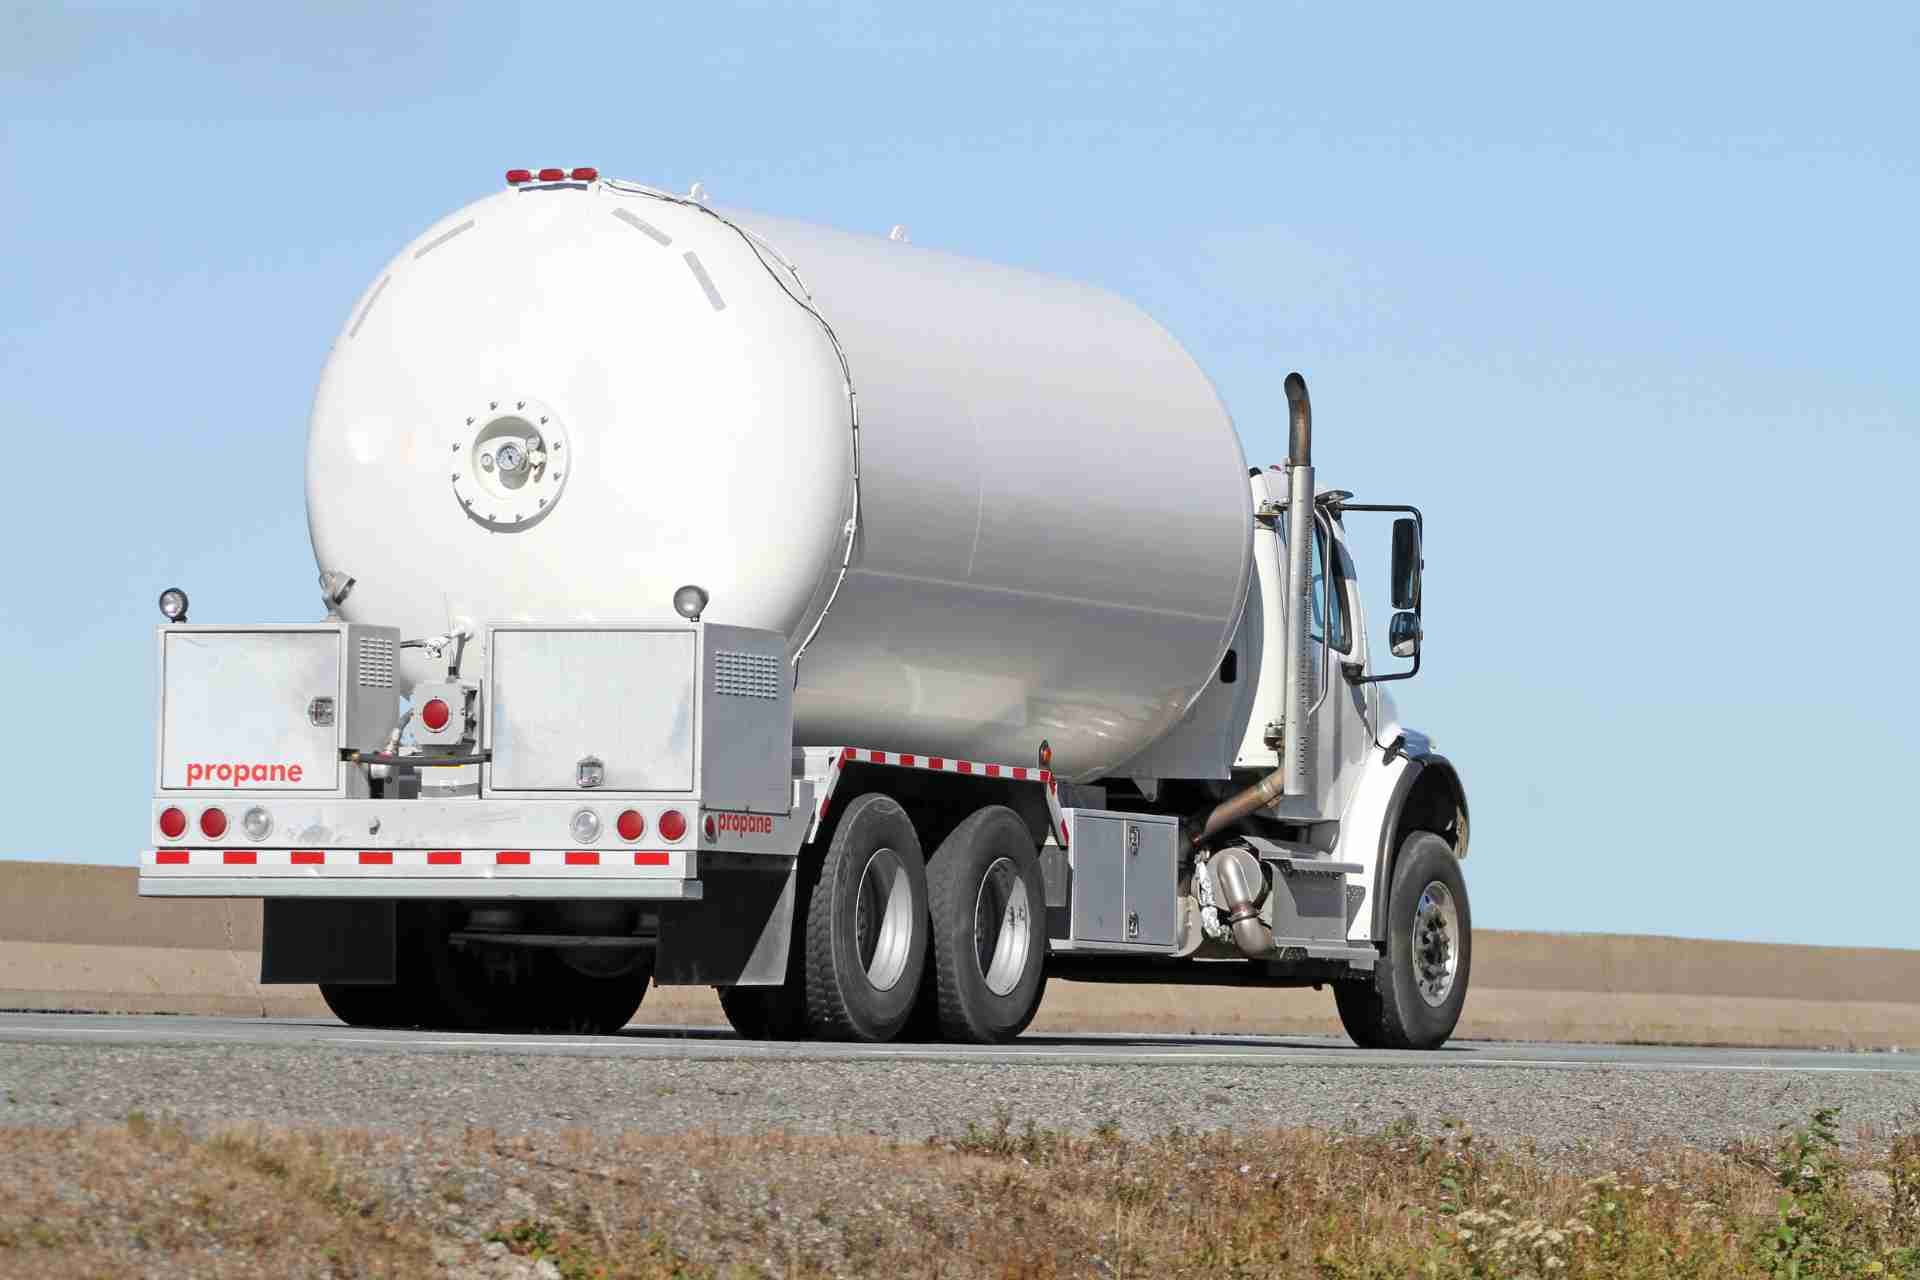
Understanding Propane Tank Types and Sizes
When choosing a propane tank, how do you know which type and size suits your needs?
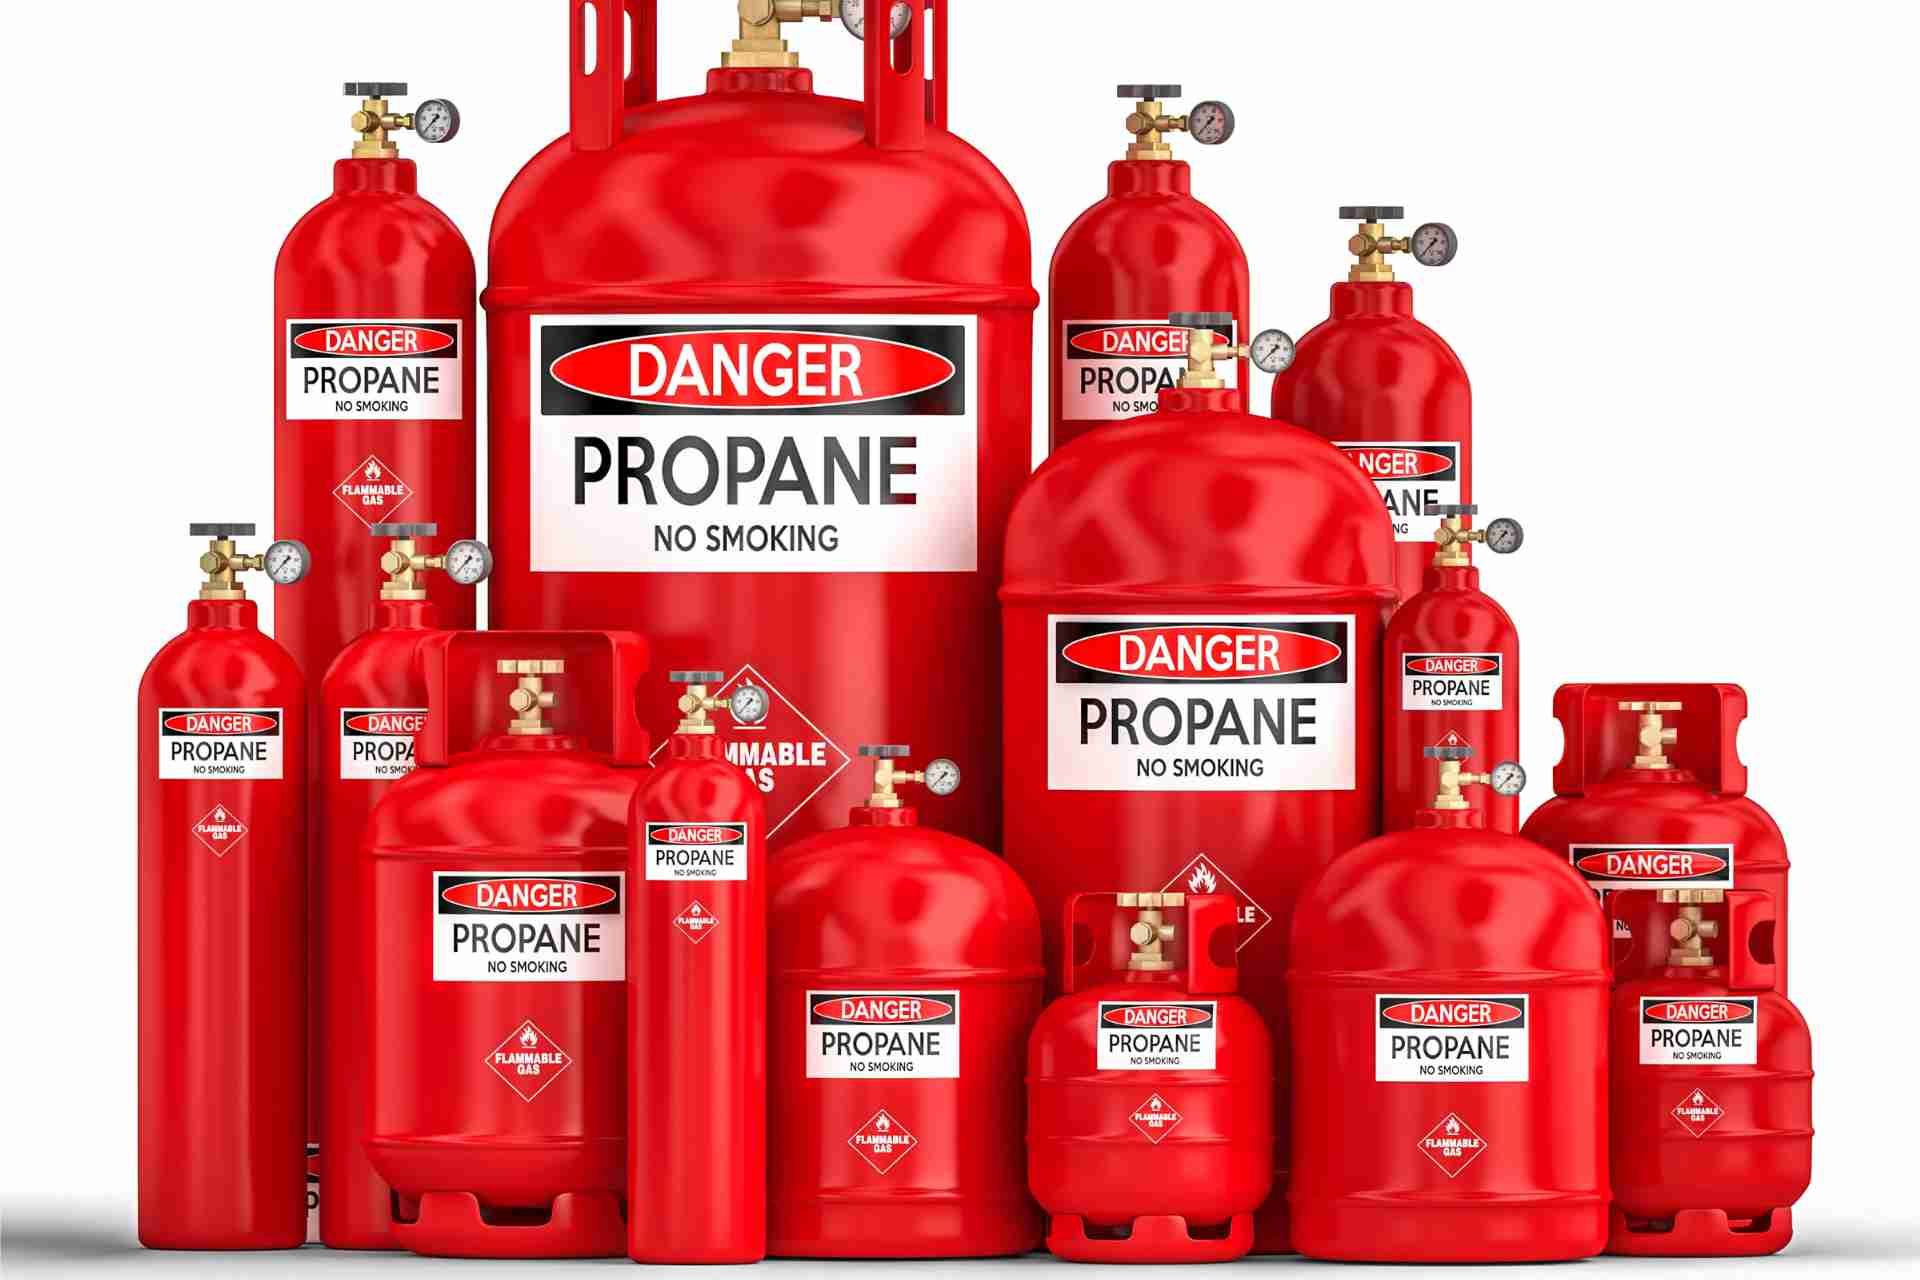
First, consider the purpose of the tank. For residential use, you might opt for a 20-pound tank for grilling or a 500-gallon tank for heating.
Think about your propane consumption; larger tanks suit high-demand applications, while smaller tanks work for occasional use.
Next, evaluate the tank's location. Above-ground tanks are easier to install but require space, while underground tanks save space and are more discreet.
Don't forget about portability—if you need mobility, a smaller tank is ideal.
Researching Local Regulations and Requirements
Before you install your propane tank, it's important to research local regulations and requirements. Each area has specific codes that govern propane tank installations, and these can vary significantly.
Start by checking with your local government or zoning office to get the latest information. You may also want to consult your state’s fire marshal or other relevant agencies, as they often have guidelines in place.
Don't forget to look into any homeowner association rules if you live in a community with such regulations. Understanding these requirements will help you avoid fines and ensure a safe installation.
Taking the time to research now can save you headaches later, so make it a priority in your planning process.
Obtaining Necessary Permits
Since installing a propane tank often requires specific permits, it’s essential to gather all necessary documentation before you start the process.
Begin by checking with your local government or regulatory agency to understand what permits you’ll need. This can vary by location, so don’t skip this step. You might need to provide details about the tank size, installation site, and intended use.
Fill out any required applications accurately and completely to avoid delays. Once submitted, be prepared for inspections or additional documentation requests.
Remember, obtaining these permits isn’t just a formality; it ensures you’re complying with safety standards and local regulations.
After securing your permits, you’ll be ready to move on to the installation phase.
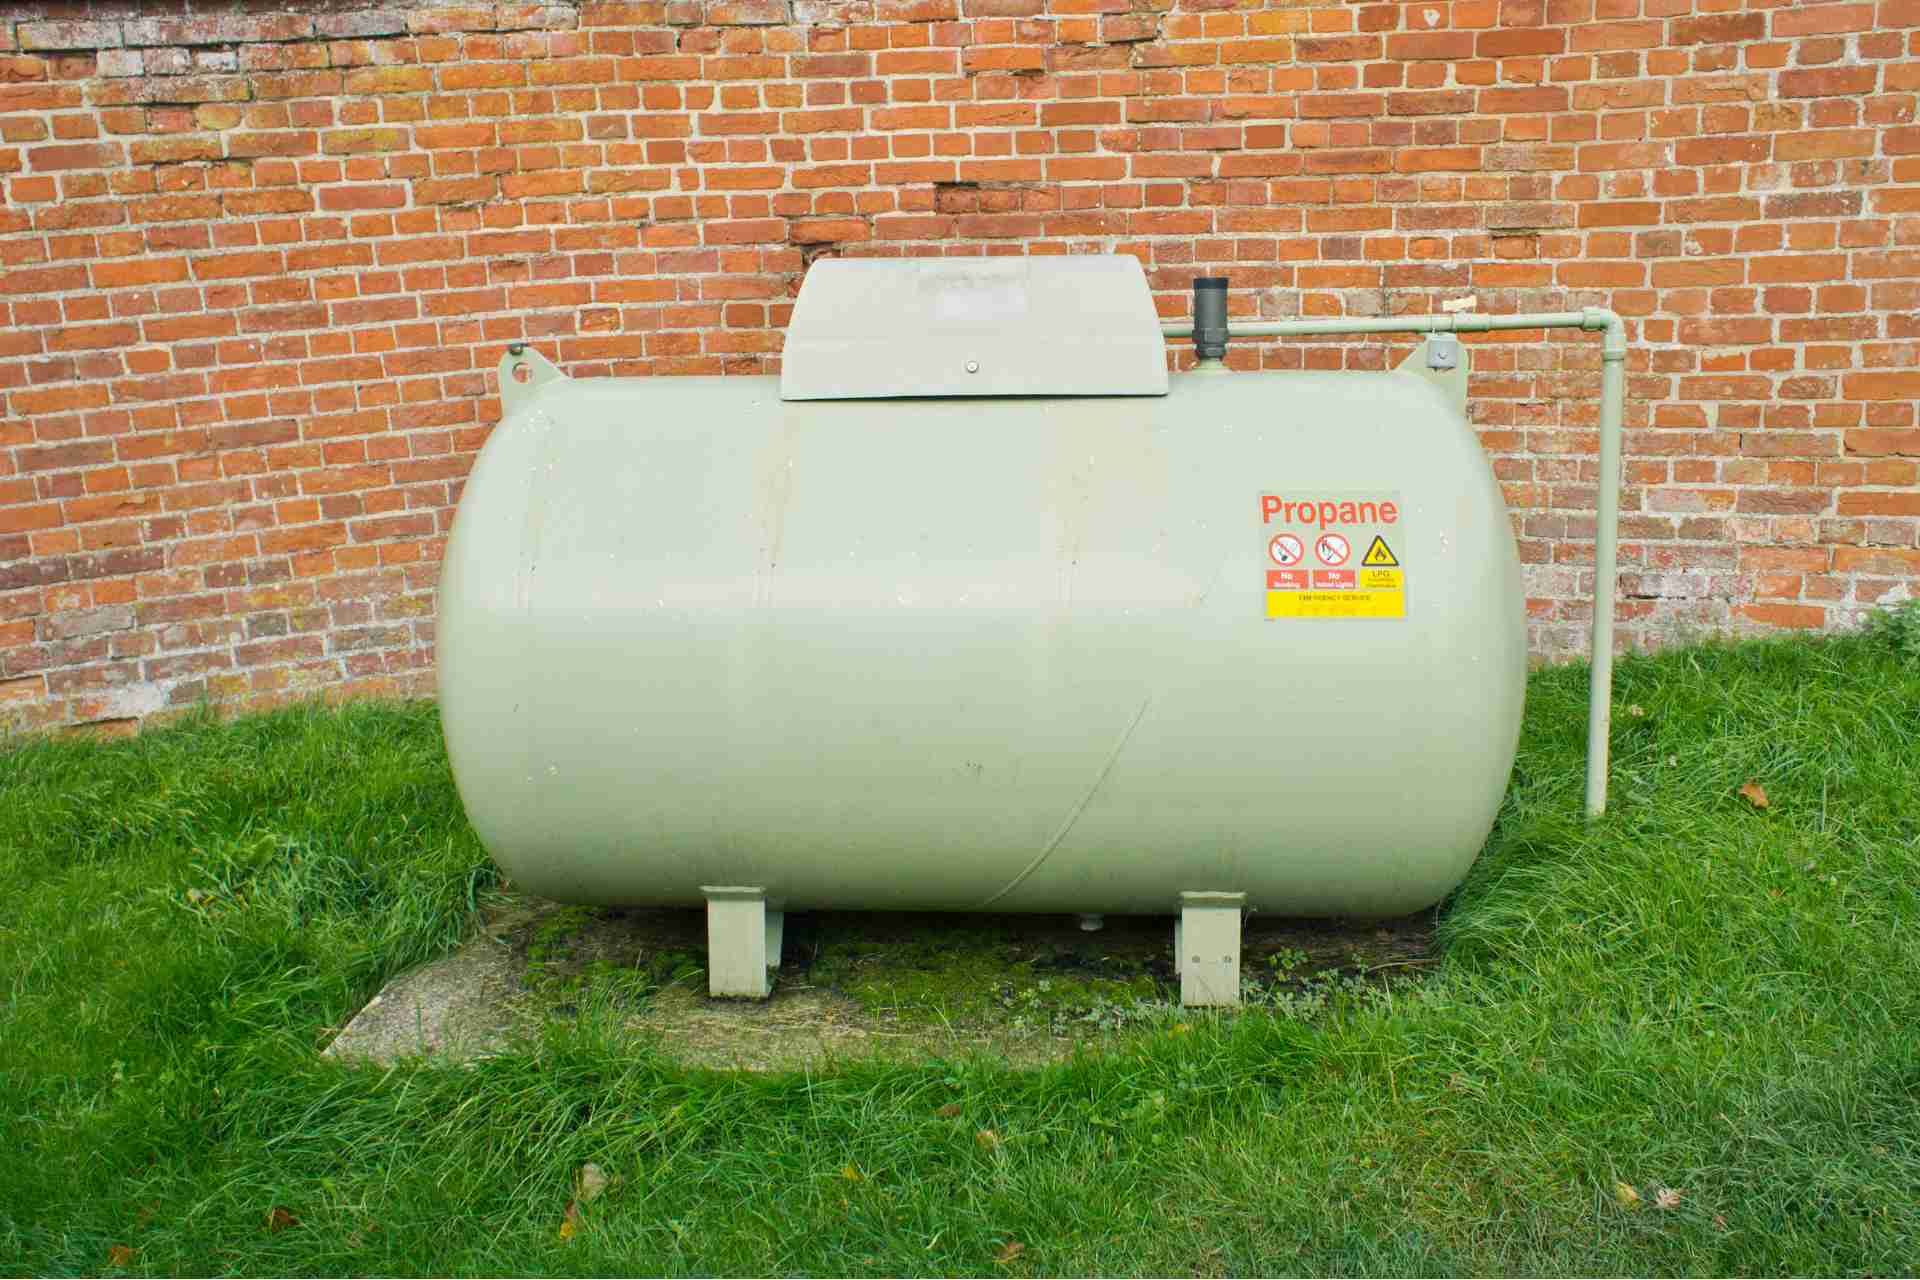
Choosing the Right Location for Installation
Choosing the right location for your propane tank is crucial, as it impacts safety, accessibility, and efficiency.
Start by considering local regulations and guidelines, which often dictate minimum distances from your home, property lines, and other structures. Look for a flat, stable area that’s away from flammable materials and high-traffic zones, ensuring easy access for delivery trucks.
Keep in mind that the tank should be positioned where it can easily connect to your appliances, reducing the need for lengthy gas lines. Additionally, think about visibility and potential landscaping plans, as you might want to conceal the tank without obstructing access.
Ultimately, a well-chosen location can enhance safety and streamline your propane supply experience.
Preparing the Installation Site
Once you've selected the ideal location for your propane tank, it's time to prepare the installation site.
Start by clearing the area of any debris, vegetation, or obstacles that could interfere with the installation. Ensure the ground is level; this prevents shifting and potential leaks later.
Check for underground utilities, like water or electrical lines, to avoid damage during installation. It’s essential to provide adequate space around the tank for safety and maintenance access.
Also, consider drainage; the site should allow for proper water runoff to prevent pooling near the tank.
Finally, mark the area clearly, so your installer knows exactly where to work. Proper preparation sets the stage for a safe and efficient installation.
Installation Process: Step-by-Step
The installation process for your propane tank involves several key steps that ensure a safe and efficient setup.
First, you'll need to position the tank according to local regulations and safety guidelines. Use a level to ensure it sits evenly on the prepared base.
Next, secure the tank with straps or brackets to prevent movement.
After that, connect the necessary piping and valves, ensuring all fittings are tight and leak-free.
Once connected, it’s essential to perform a visual inspection for any signs of damage or wear.
Finally, schedule a professional inspection to verify that everything meets safety standards before putting your propane tank into use.
Following these steps helps guarantee a smooth and safe installation.
Connecting the Propane System
Connecting your propane system is crucial for ensuring a safe and efficient fuel supply.
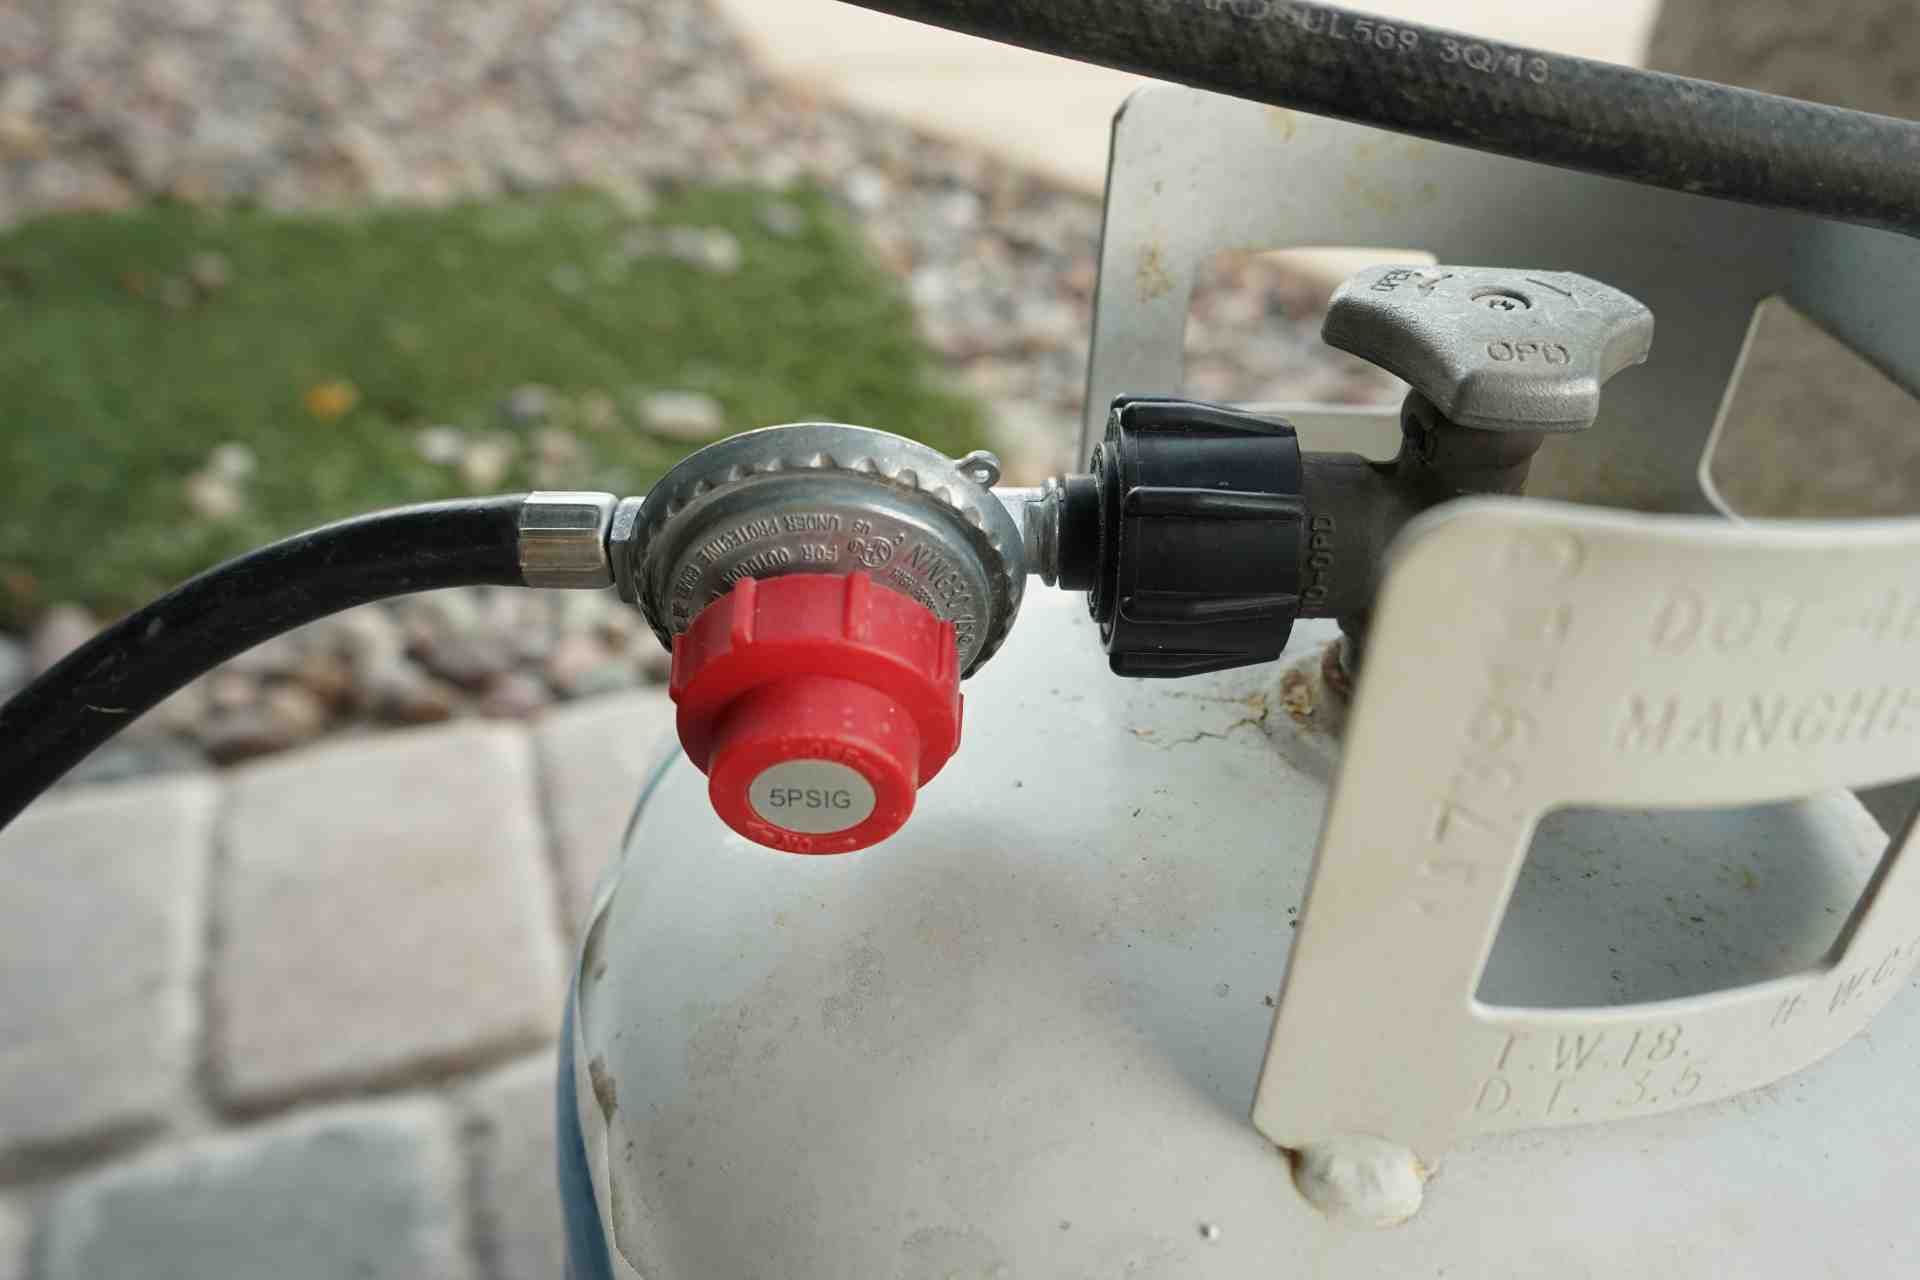
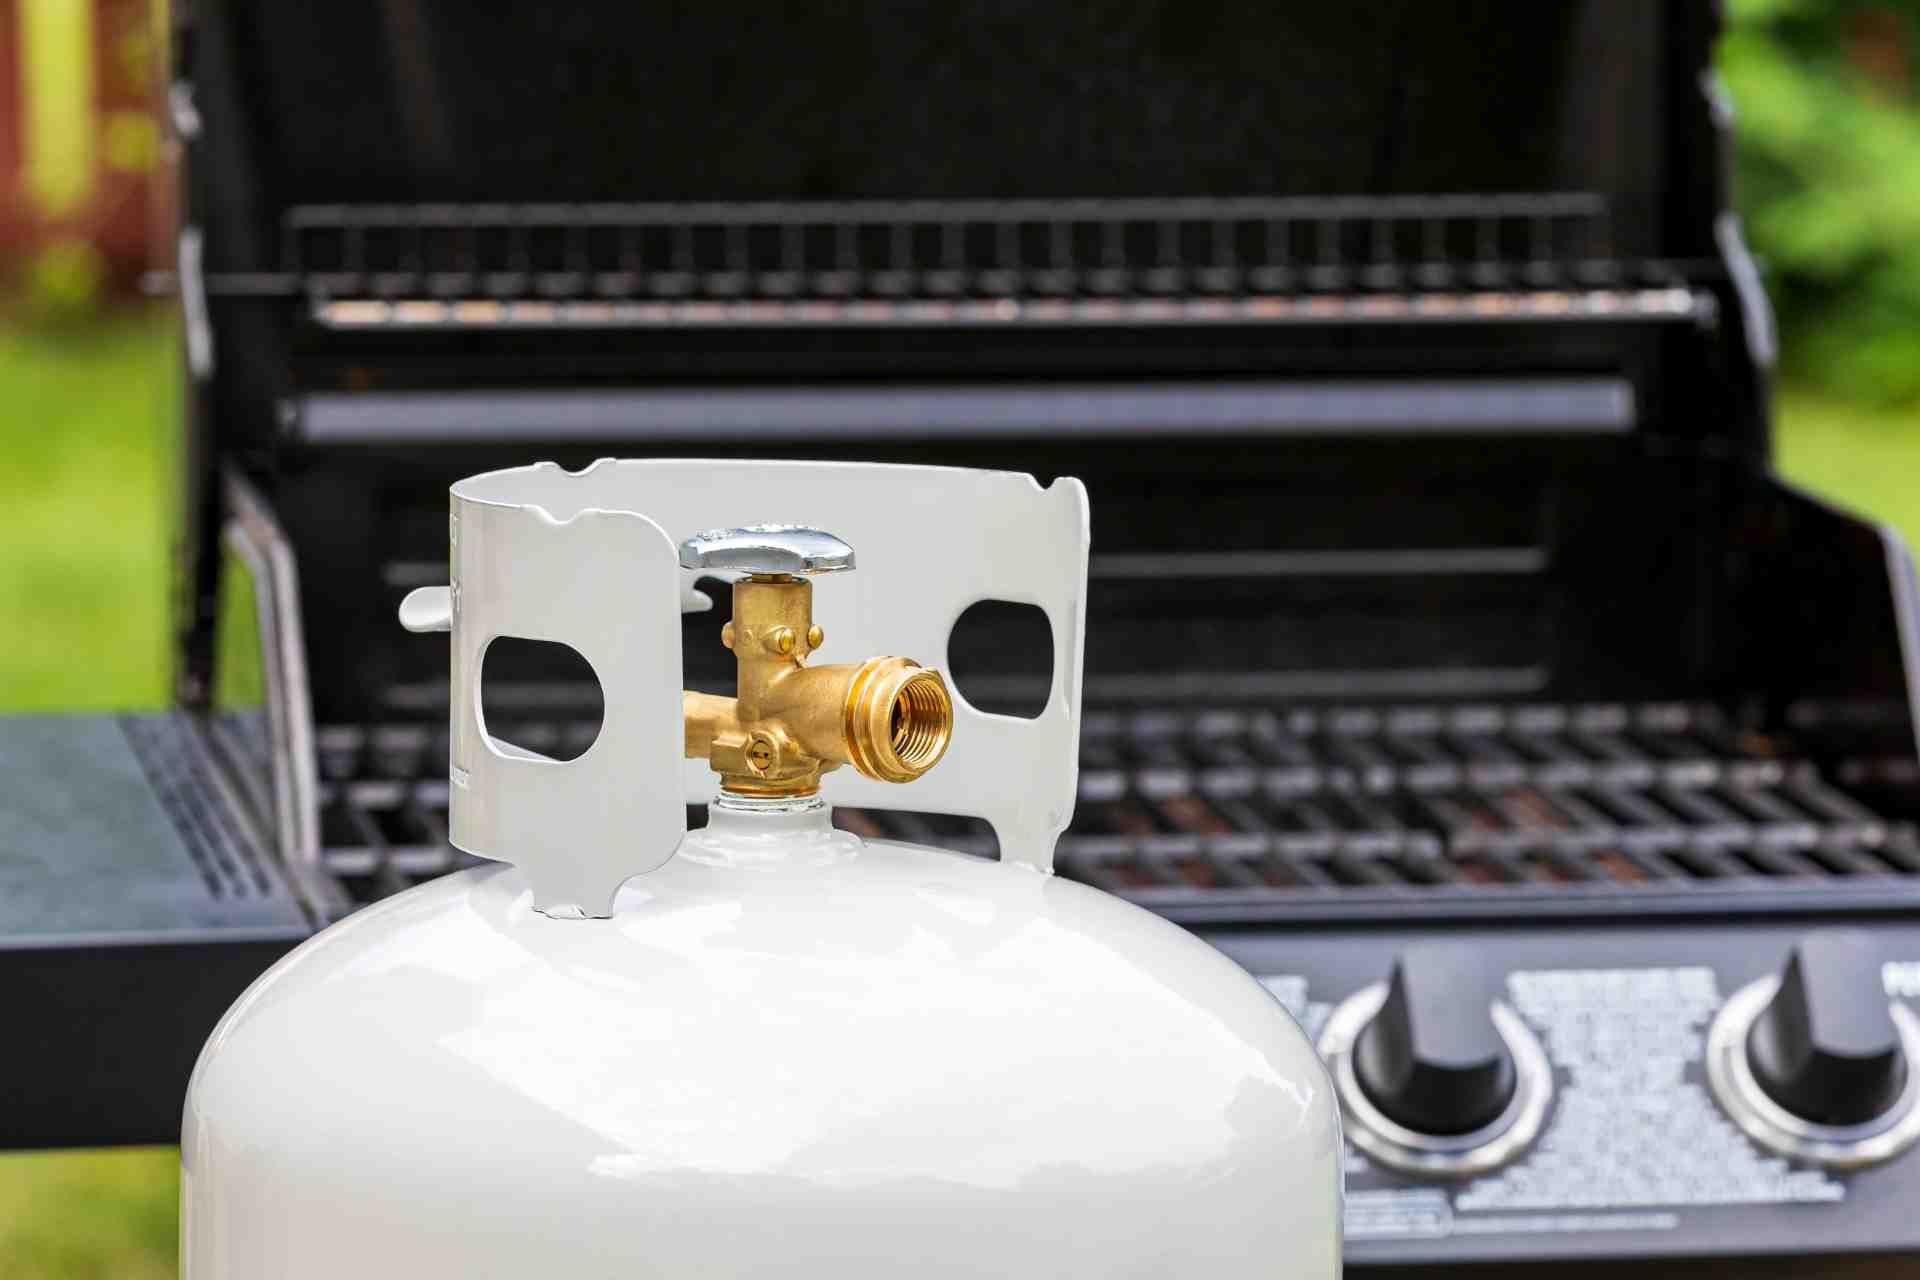
Begin by attaching the appropriate regulator to your propane tank. This device controls the pressure of the gas flowing into your system. Make sure all connections are tight and secure to prevent leaks.
Next, connect the supply line from the regulator to your appliances, like your stove or heater. Use approved fittings and tape to seal the joints.
After connecting, open the valve on the propane tank slowly to allow gas to flow. Check for any signs of leaks by applying soapy water to the joints; bubbles indicate a leak.
Once everything’s connected properly, you’re ready to start using your propane system safely.
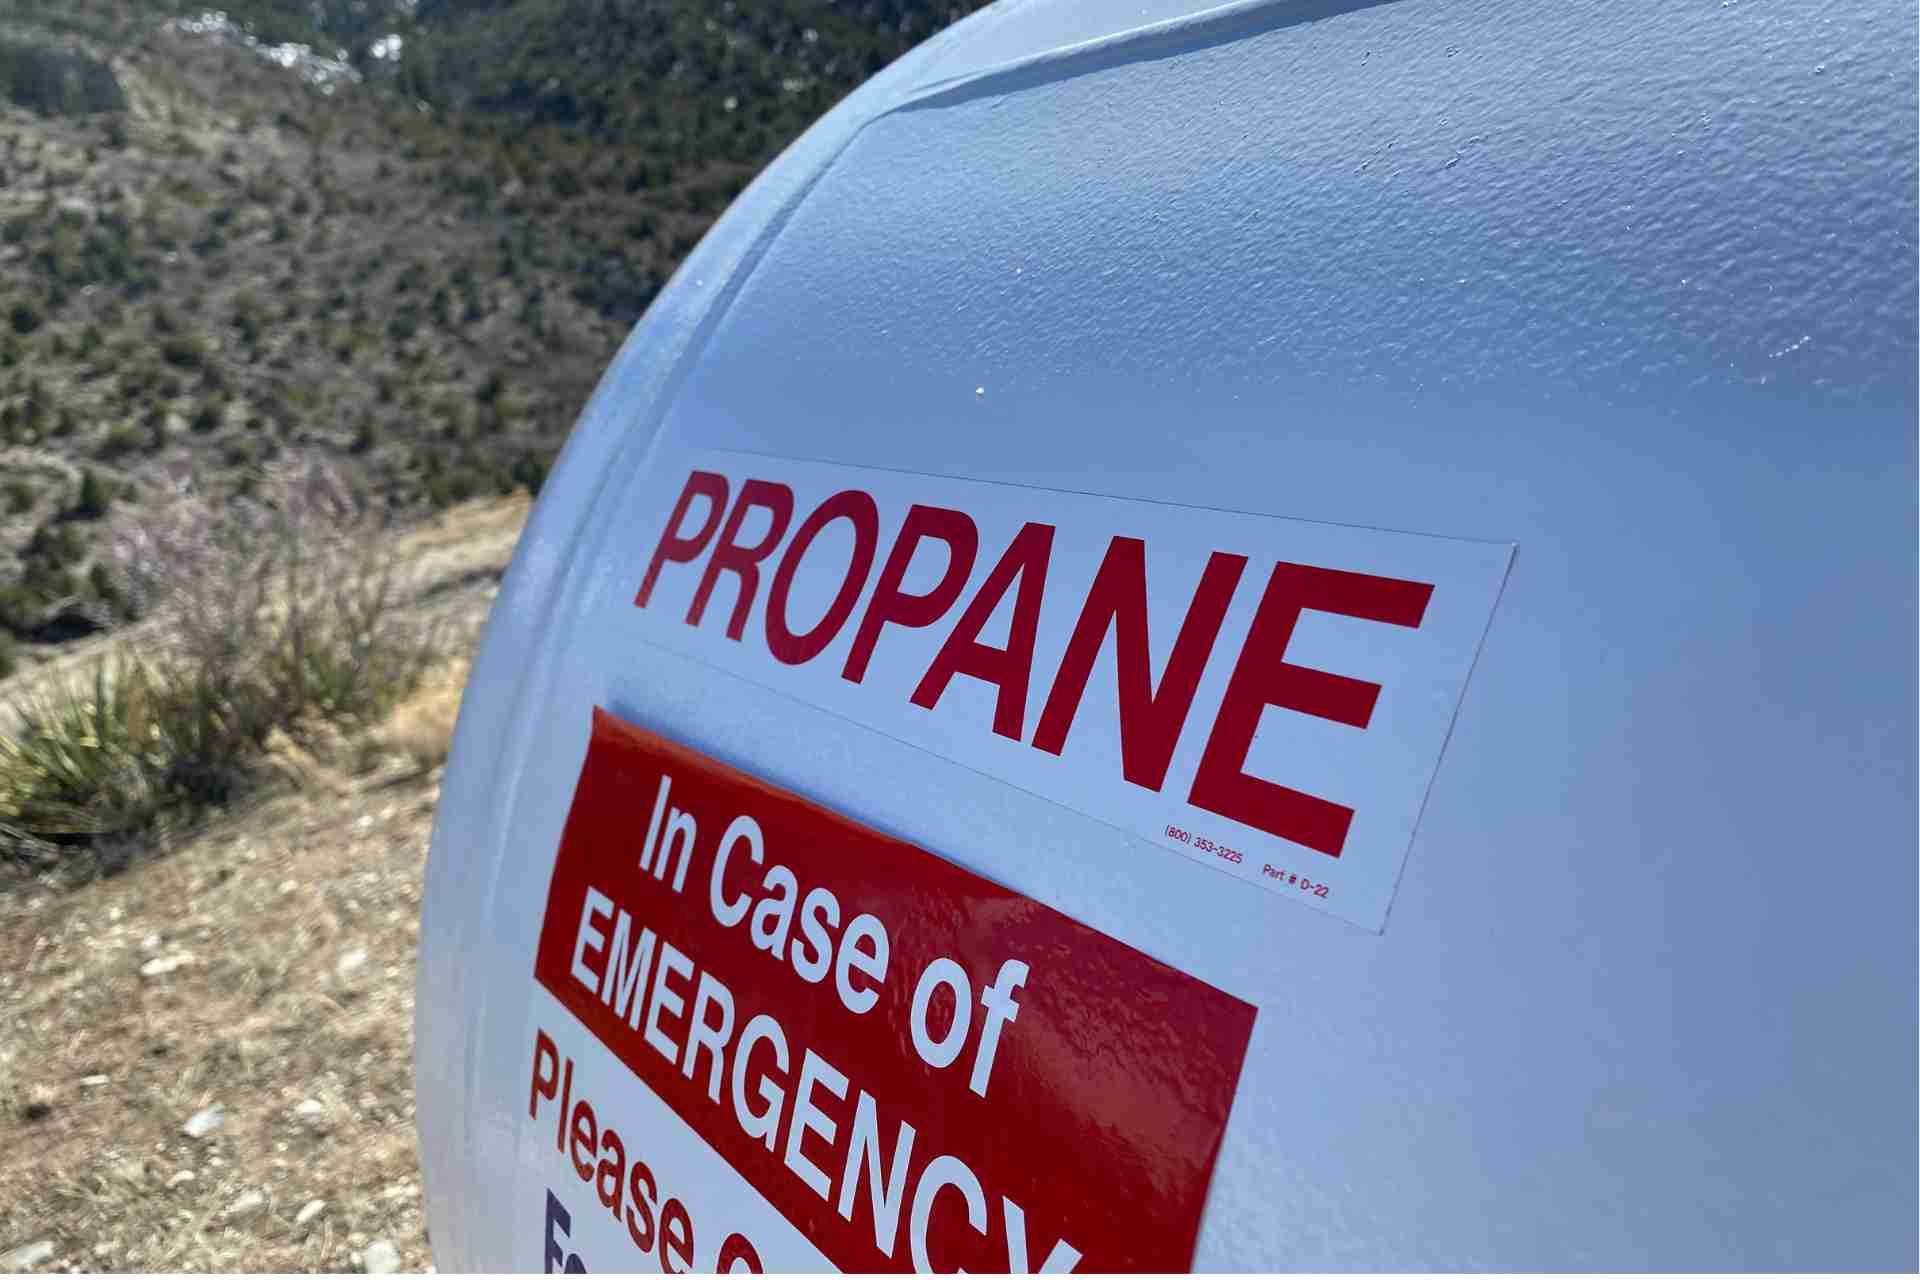
Conducting Safety Checks and Inspections
After you've securely connected your propane system, it's important to conduct thorough safety checks and inspections.
Begin by checking all connections for leaks using a soap solution; bubbles indicate a leak. Next, inspect the tank and lines for any visible damage or corrosion.
Ensure the pressure relief valve is functioning properly and that the tank is securely anchored. Verify that your propane detector is operational and properly positioned.
Also, take a moment to review your emergency procedures and ensure they’re easily accessible. Lastly, familiarize yourself with the location of shut-off valves.
Performing these checks not only ensures your system operates safely but also helps prevent potential hazards down the road. Regular inspections are key to maintaining a safe propane environment.
Ongoing Maintenance and Safety Practices
While ensuring your propane system is safe and functional, ongoing maintenance is crucial for long-term performance.
Regularly inspect your tank and connections for leaks or corrosion, and don't hesitate to contact a professional if you notice any issues. Keeping your area clear of debris and flammable materials helps prevent accidents.
You should also schedule periodic inspections by a certified technician to ensure compliance with safety standards. Always check your propane levels to avoid running out unexpectedly.
Additionally, replace any worn or damaged hoses promptly. By adopting these simple practices, you can maintain your system's efficiency and safety, ensuring peace of mind while using propane in your home.
Conclusion
Installing a propane tank is a straightforward process when you follow the right steps. By understanding tank types, researching regulations, and securing permits, you set a solid foundation. Choose a safe location and prepare the site carefully before installation. Don’t forget to connect the propane system correctly and conduct thorough safety checks. With ongoing maintenance and inspections, you ensure your propane tank operates safely and efficiently for years to come. Stay informed and prioritize safety!